Controlling the hostname with a WebApp when fronted by Application Gateway
I wanted to demystify the hostname that is used within an ASP.NET core application when the application is hosted in a WebApp and fronted by an Application Gateway. I have been getting a few questions about it and I believe it can help.

It happens to many that when they configure such setup, and have redirects triggered within the application, they get presented with the application.azurewebsites.net hostname instead of the hostname by which they actually accessed the application. They then ask themselves: what happened? I accessed my application through application.mydomain.com. How come I am presented with the azurewebsites.net hostname?
Let’s dissect 2 ways by which this can be mitigated and have, when the application triggers redirects within itself, the proper hostname that was accessed when the application was first hit.
Way 1 – Adding a custom domain in the WebApp
I will not go through the steps to add a custom domain to a WebApp. For that, you can definitely check out the documentation. You will also have to setup SSL if you want end to end SSL.
When configuring a WebApp with a custom hostname and accessing that WebApp through that custom hostname, it will make the application behave as expected that is have the correct hostname within itself.
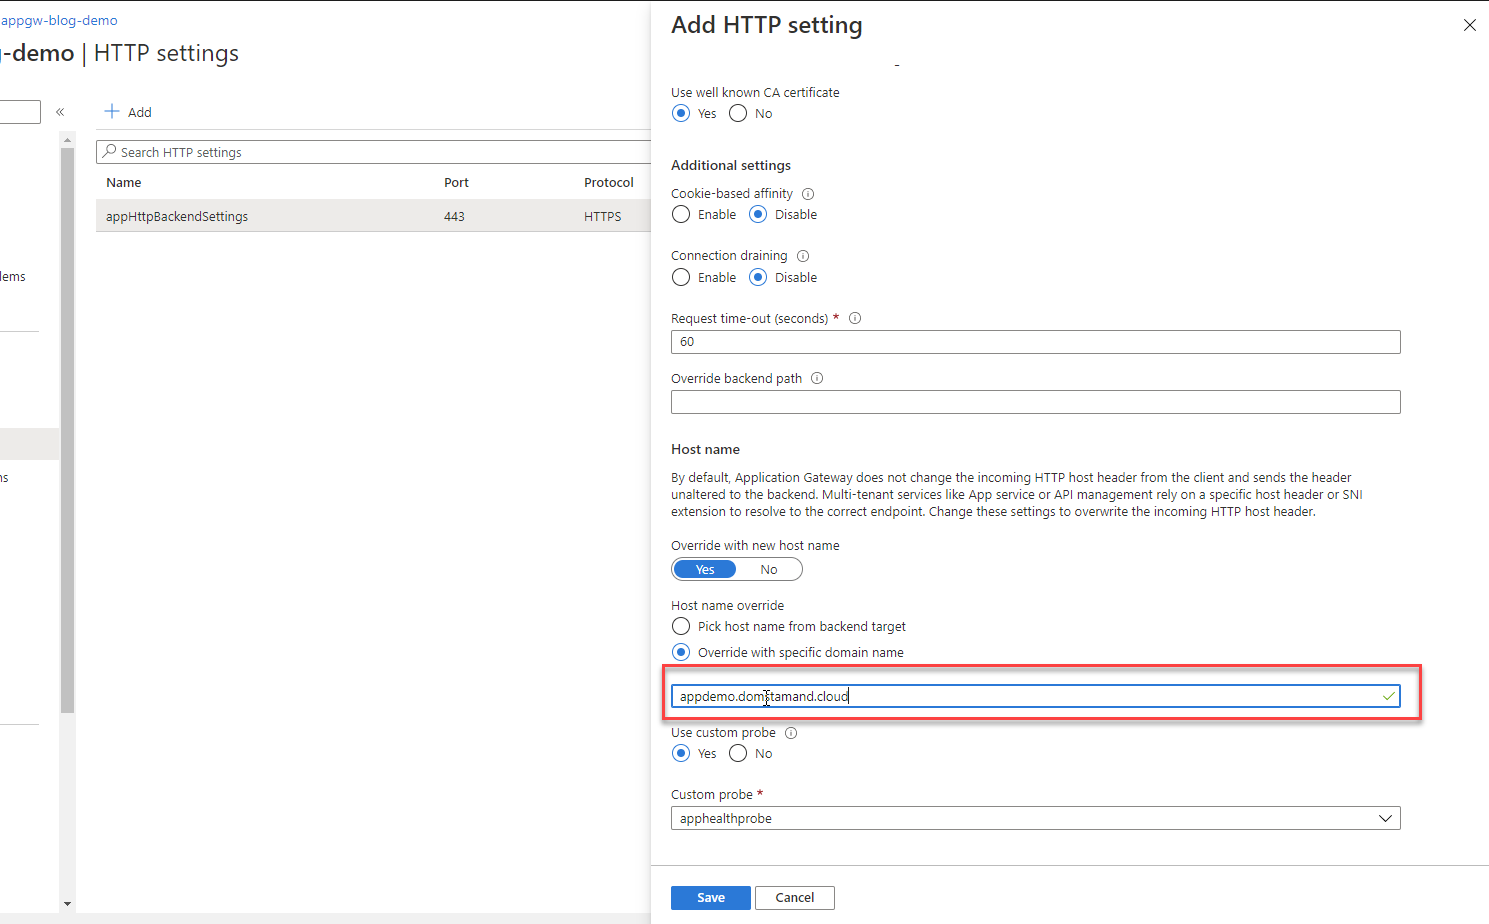
You do have to override the hostname in the Application Gateway so that the WebApp knows how to respond to the requests.

Way 2 – Configuring forward headers within the application
Another way to map the correct hostname without having to map a custom domain to the WebApp is to configure in the ASP.NET Core application, forward headers.
To do that, add in your startup file, under the ConfigureServices method:
|
1 2 3 4 5 6 7 8 |
services.Configure<ForwardedHeadersOptions>(options => { options.ForwardedHeaders = ForwardedHeaders.XForwardedFor | ForwardedHeaders.XForwardedProto | ForwardedHeaders.XForwardedHost | ForwardedHeaders.XForwardedHost; options.KnownNetworks.Clear(); options.KnownProxies.Clear(); }); |
Under the Configure method, add
app.UseForwardedHeaders(); at the beginning of the method so that it is the first middleware invoked when a request comes in.
Now there’s a subtlety. Application Gateway doesn’t respect the regular X-Forwarded-Host header, but rather introduces the same behavior throught the X-Original-Host header. This means that in your configure call for the forwarded headers, you need to add options.ForwardedHostHeaderName = “X-Original-Host”;
Final code:
|
1 2 3 4 5 6 7 8 9 10 |
services.Configure<ForwardedHeadersOptions>(options => { options.ForwardedHeaders = ForwardedHeaders.XForwardedFor | ForwardedHeaders.XForwardedProto | ForwardedHeaders.XForwardedHost | ForwardedHeaders.XForwardedHost; options.ForwardedHostHeaderName = "X-Original-Host"; options.KnownNetworks.Clear(); options.KnownProxies.Clear(); }); |
If you are deploying in multiple environment systems, you may want to wrap the ForwardedHostHeaderName property with a condition so that it is only set when you are deploying in an environment where you have an Application Gateway.
Here’s a demonstration of how it looks like
